Ready to assemble this adorable Alpine Wonderland advent calendar panel with softies made from Sheri’s holiday fabric? Brooke here to show you how to transform your printed panel into this completed project. Let’s get started....
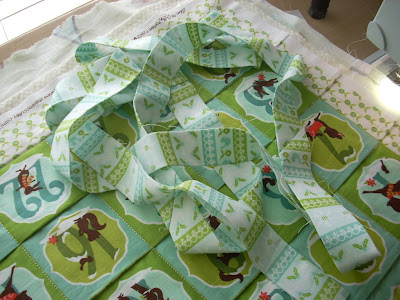
We are going to begin with the advent calendar panel. Using the lines marked on the panel, fold and iron each row in place.I did use a few straight pins to hold the rows in place as I went.
Once all the rows are ironed in place, I sandwiched with batting and backing ready to quilt down the pockets.
Using my walking foot, I quilted along both the horizontal and vertical lines of all the rows below the “Merry Christmas”.
I began the vertical row quilting at the bottom of the calendar toward the top.
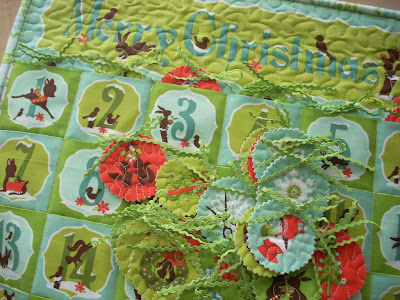
In this picture, you can see the stitched pockets.
I did a simple meandering at the top of the calendar.
Using the printed lines as a guide, I trimmed away the excess as shown.
Before binding, I cut a piece 3.5 inches wide and finished the ends and centered it on the back of the calendar. This will be a hanging sleeve so the calendar can easily be hung up on the wall.
Next I made binding with a coordinating print from this line.
After handsewing done the binding, your calendar is finished - doesn’t it look so nice?!
Here it is up on the wall...sorry about the poor lighting....sometimes the weather doesn’t cooperate with my creating timeline!
Now you need something to fill those adorable pockets...right?! So let's make some softies....
I took the softie pre-printed panel, sandwiched it with batting and backing and did some free motion quilting.
Using pinking shears, I cut out my softies. I used the advent calendar as a guide to make sure the softies could fit inside the pockets.
I decided after I was done using my softies in the advent calendar, I wanted to hang them on my tree, so I sewed 12 inches of tiny ric rac to the top of each one.
I really love how cute these look!
At my house, all these cute softies would get lost or separated, so I thought a cute drawstring bag was in order. I cut a piece 12.5 x 24 and folded it in half.
I used a .5 inch side seam to make forming a casing easier. I folded down 2 inches from the top for the casing.
Now my softies have this nifty home!
I hope you have enjoyed this step by step guide for transforming your printed Alpine Wonderland advent calendar and softie panel into this adorable Christmas keepsake! Happy Holidays! Happy sewing!


0 comments:
Post a Comment